As mentioned the girl’s school is having a Mother’s Day stall next week and they school asks for a small amount of money to be donated or a gift to the value of $3.
Last year I made a few fabric cup cosies and fabric notepad covers that came with a pad and pen.
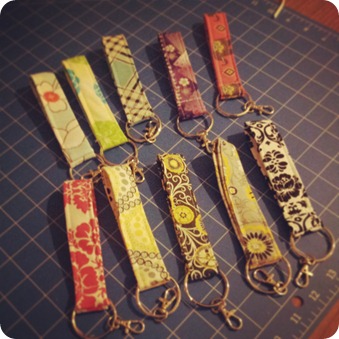
I thought these fabric key chains would be a great way to use up some of my scraps as well as making a great gift for the kids to buy at the stall. So here is a little tutorial as to how I made them (sorry for the poor quality of photo’s as they are taken on my phone late last night).
I made 10 of these last night in under an 1 hour. You will need the following to make one:
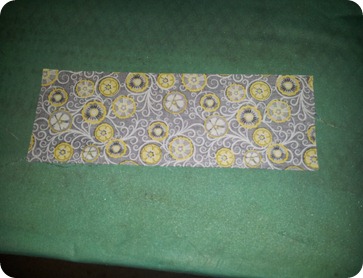
1 x fabric strip that measures 4 inches wide x 11 inches long
1 x lining strip that measures 1 inch wide x 11 inches long
1 x swivel lobster clasp with ring
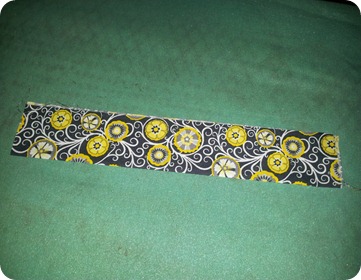
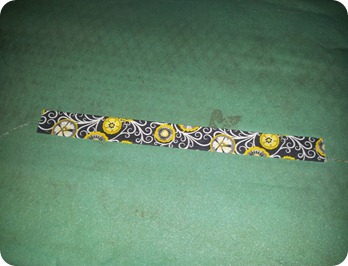
To make first you need to iron the fabric strip down to look like a 1 inch thick bias tape. Iron your fabric piece in half as pictured:
Then open it up, fold one side of the fabric to the line you just made and iron. Repeat for the other side:
This is what you should end up with. Oh and sorry for the daggy looking ironing board. Really should make myself a new cover lol.
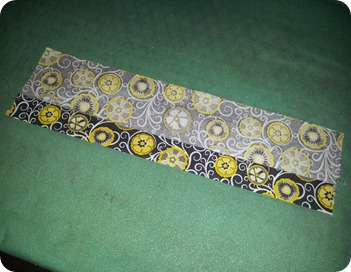
Now place your piece one lining inside one of the folds of your fabric handle:
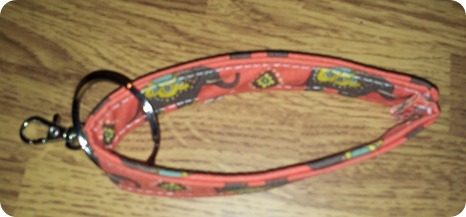
Now to add the hardware. Place the fabric through the ring on your swivel lobster clasp and fold in half. Sew the ends together. I used pinking shears to tidy the ends of the fabric but you could use a zigzag stitch to do this or just trim the ends with your scissors.
Sew the ends together. .
I used pinking shears to tidy the ends of the fabric but you could use a zigzag stitch to do this or just trim the ends with your scissors:
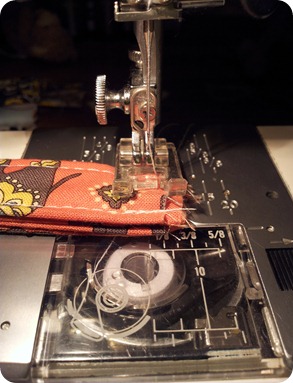
Now turn your fabric handle inside out so that the raw end of the handle is inside. Pull the ring down to where the raw end is and place under the presser foot so that it is hard up against the ring and then sew across.
I sew back and forth a few times just for extra strength and durability:
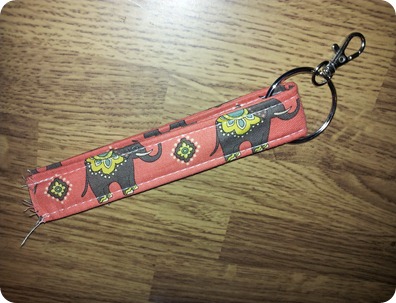
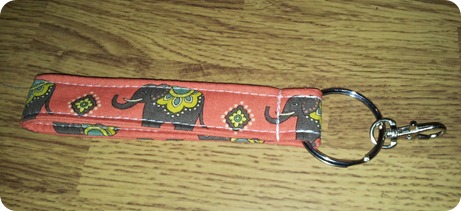
And there you have it. Ready to attach to your set of keys:
These are a great little gift not only for Mother’s Day but can also be made as a teachers gift. Kids can also use them for their house keys as well.
So why not go through your fabric stash and wipe up a couple for your friends and family.
Jennifer xx
Note: This tutorial is for personal use only not for resale. If you have mentioned this post anywhere, used it on your own blog, I would really appreciate a link back or a mention. Cheers!!!





Great idea!
ReplyDeleteThanks so much for sharing. What a great gift idea.
ReplyDeletethanks so much for making a tutorial this clear. great idea!
ReplyDeleteI've seen these at craft shows, but I love the idea of being able to make my own for gifts. Pinned and shared a link on my blog. Thanks for sharing!
ReplyDeleteKaren @ annumography
Super cute! Thanks for sharing tutorial!
ReplyDeleteHave a wonderful week!
Hugs from Portugal,
Ana Love Craft
www.lovecraft2012.blogspot.com